Build attacker machine
Install common packages
sudo apt-get update && sudo apt install -y ssh vim net-tools curl git python3-pip
Install awscli
Download the package
curl "https://awscli.amazonaws.com/awscli-exe-linux-x86_64.zip" -o "awscliv2.zip"
Unzip the installer
unzip awscliv2.zip
Run the install program
sudo ./aws/install
Install terraform
Terraform Prerequisites
sudo apt-get update && sudo apt-get install -y gnupg software-properties-common
Add the HashiCorp GPG key
curl -fsSL https://apt.releases.hashicorp.com/gpg | sudo apt-key add -
Add the official HashiCorp Linux repository
sudo apt-add-repository "deb [arch=amd64] https://apt.releases.hashicorp.com $(lsb_release -cs) main"
Update to add the repository, and install the Terraform CLI
sudo apt-get update && sudo apt-get install terraform
Install Cloudgoat
Use git to clone the Cloudgoat repo to home directory and change to the new directory
git clone https://github.com/RhinoSecurityLabs/cloudgoat.git ~/cloudgoat && cd ~/cloudgoat
Install the Cloudgoat dependencies
pip3 install -r ./core/python/requirements.txt && chmod u+x cloudgoat.py
Install Pacu
Use git to clone the Pacu repo to home directory and change to the new directory
git clone https://github.com/RhinoSecurityLabs/pacu.git ~/pacu && cd ~/pacu
Install the Pacu dependencies
pip3 install -r requirements.txt
Setup AWS Profile
Setup AWS profile for Cloudgoat. This account will need admin access in AWS. This will create or add a new profile in
~/.aws/configand~/.aws/credentialsYou will be prompted for
Access Key ID, AWS Secret Access Key, Default region name, Default output format
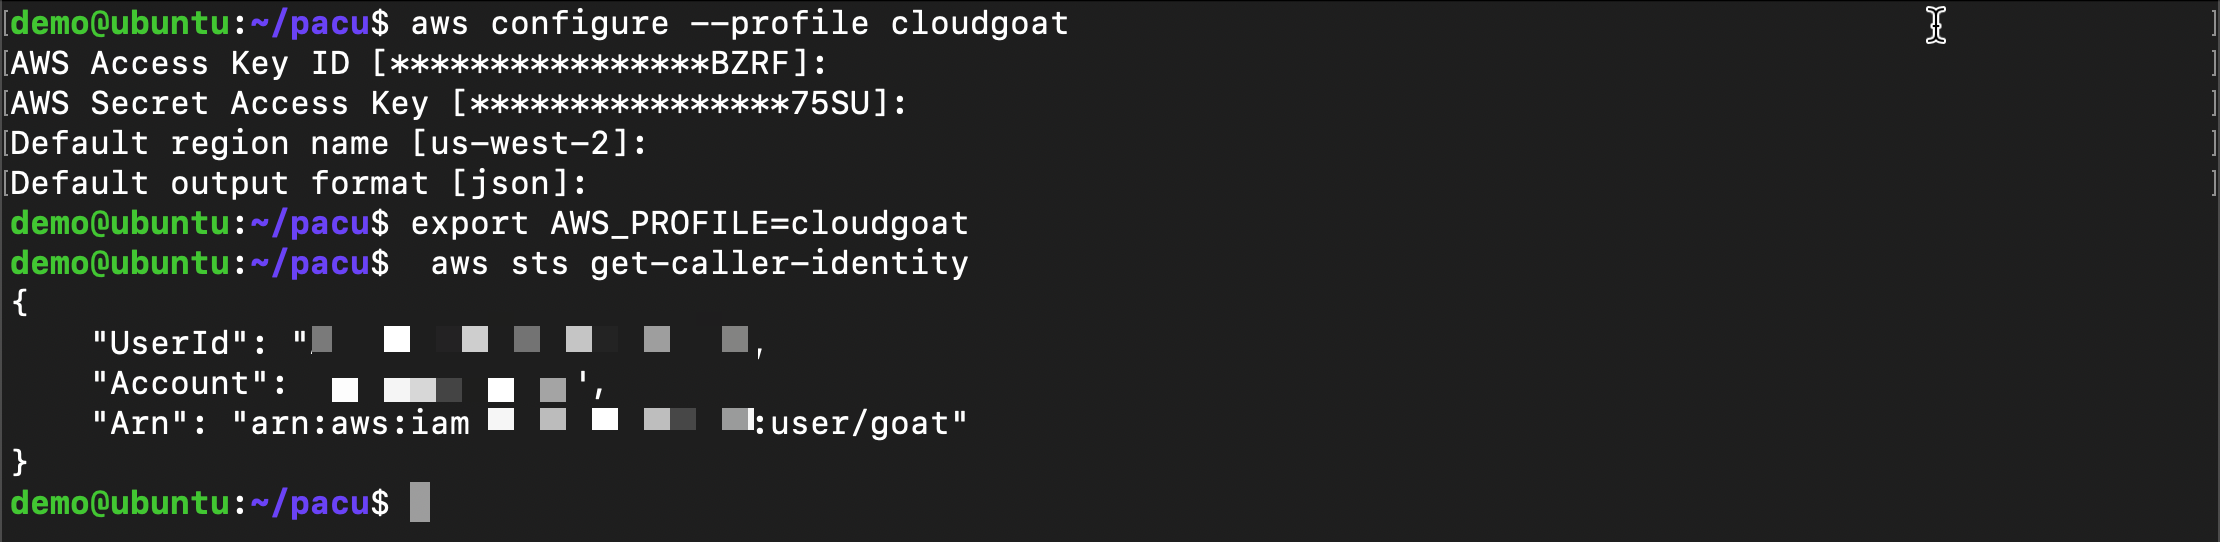
aws configure --profile cloudgoat
Make the new aws profile your default
export AWS_PROFILE=cloudgoat
Verify credentials are working
aws sts get-caller-identity
Setup Cloudgoat
Run Cloudgoat config profile from home directory and set default profile. You will be prompted to enter an AWS profile from the previous step which we called
cloudgoat. This is how Cloudgoat will access AWS.
~/cloudgoat/cloudgoat.py config profile
Run Cloudgoat config whitlelist
~/cloudgoat/cloudgoat.py config whitelist --auto
Create vulnerable infrastructure
Now that the tools are setup we will use Cloudgoat to setup vulnerable infrastructure in AWS. This will create our scenario
Run the attack scenario
~/cloudgoat/cloudgoat.py create lambda_privesc
- Collect the 3 outputs and copy them to a text file:
cloudgoat_output_aws_account_id
cloudgoat_output_chris_access_key_id
cloudgoat_output_chris_secret_key